Before and after
Compare the placement and contrast, then use the steps below to try the idea.
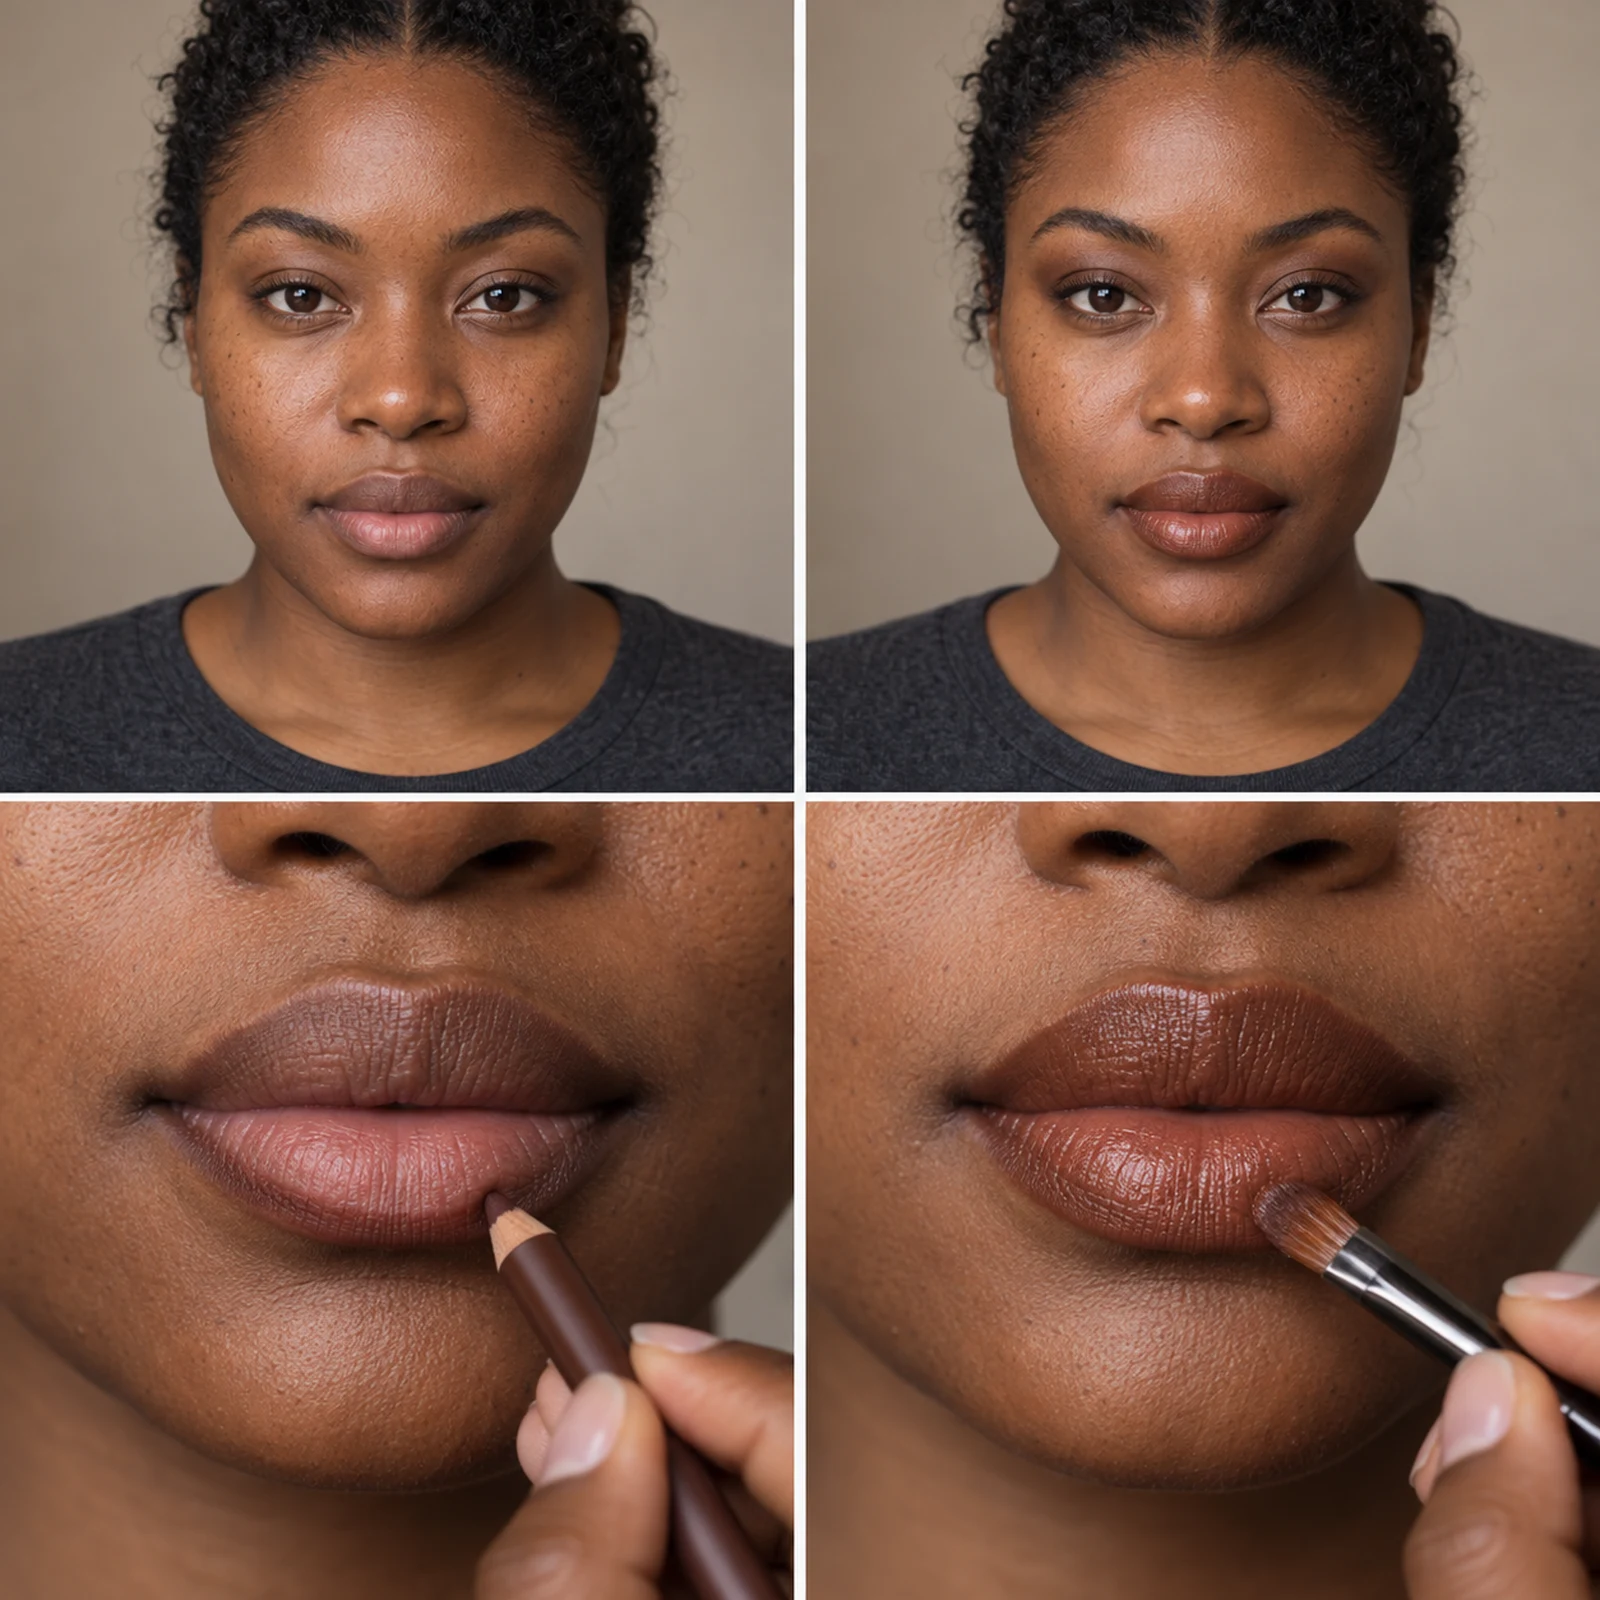
AI illustrations of a fictional model, not photographs of a product test. Use them as a colour and placement reference; your result will vary.
What you need
A brown pencil and satin brown lipstick close to your natural lip depth, plus a small lip brush. Start with a pair you own rather than buying a very pale nude for the centre.
Keep your usual base routine. This tutorial focuses on the lips.
The technique, up close
AI placement examples. The pictures illustrate the two key movements; follow the written steps and the directions on your own products.
- Find a brown that showsSwatch beside your natural lip colour. Choose enough depth to define the border without relying on an almost-black line.
- Use short pencil strokesFollow the natural outline, beginning at the lower lip centre. Work outward a little at a time.
- Feather pencil inwardUse a small brush to pull the inner edge of the pencil toward the lip centre. Leave the outer edge where it is.
- Press on cocoa colourAdd a thin layer of satin brown lipstick to the centre and meet the feathered pencil. Do not cover the whole outline opaquely.
- Blend with the lips relaxedGently press lips together once, then use the brush to soften any visible seam. Add colour only where it is missing.
When to stop
The edge has slightly more depth than the centre, but there is no separate dark ring. The cocoa colour looks even when your mouth is relaxed.
If it goes too far
If the outline looks detached, use a clean lip brush to feather its inner edge into the lipstick. If the centre looks too pale, mix in a little of the pencil colour.
A mistake to avoid
A very pale centre can turn a soft cocoa idea into a stark ring. Begin with a centre shade close to your own depth.
Make it work for your day
A lighter version
Use the pencil only where your lip edge needs definition, then press a sheer lipstick layer over the centre.
Finish the rest of the face
Keep the eyes simple with a thin brown wash or mascara. Choose a light amount of your usual blush so the lip remains the main new detail.
Adapt the colour and placement
For deeply pigmented lips, a richer brown may produce a more balanced contrast than a pale beige centre. Keep your own lip colour visible if a light shade looks chalky.
Products to consider
Check your own makeup first. A product you already own in the right colour and labelled for the intended area may be enough.
MACximal Sleek Satin Lipstick: Paramount
A satin brown-family option. Compare its current swatches to your lip depth; it is an editorial starting point rather than the exact cocoa colour in the AI image.
Select the named shade and check the product directions before buying.
View the brand’s product details
These are editorial links to brand pages, not affiliate links. Product names and shade descriptions were reviewed against accessible brand information on October 31, 2026. Live stock has not been checked. Tressaly has not physically tested these products. AI images are not product swatches. Stock, regional availability and ingredients may change.
The community starting point
The neutral-brown community looks supply the tonal starting point. This version changes the finish and makes inward blending the main technique.
Read the original discussion: Neutral brown autumn look; Makeup today: a grungy eye and brown lip.
Sources reviewed October 31, 2026. These are selected public discussions, not a platform-wide trend ranking. We link the creators’ work; their photos are not reproduced here.
Questions
Can I do a brown lip on deep skin?
Yes. Match the contrast to your own lip depth instead of copying a pale centre. A richer cocoa or red-brown centre can keep the transition softer.
How can I make this look more subtle?
Use the pencil only where your lip edge needs definition, then press a sheer lipstick layer over the centre.
What can I do if I apply too much colour?
If the outline looks detached, use a clean lip brush to feather its inner edge into the lipstick. If the centre looks too pale, mix in a little of the pencil colour.
Try the idea on your own face
Your sign supplies a prompt, not an analysis of your features. Tressaly’s selfie preview is designed around your own photo. See how a read works.
Read next: More on placement and choosing a look. Earlier issue: Taurus, October 26 to November 1.